Canon Pixma Mg2522 Usb Cable Setup
How To Setup Canon Pixma Mg2522 Printer Printer Technical Support
Canon Pixma Mg2522 And Other Series Setup Brief Instruction Ko Fi Where Creators Get Donations From Fans With A Buy Me A Coffee Page
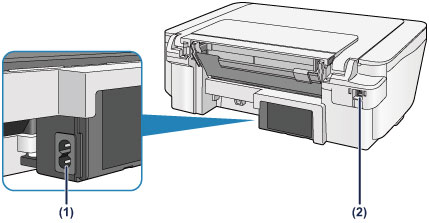
Canon Pixma Manuals Mg2500 Series Rear View

Hkomt5empvo8km
Canon Pixma Mg2922 Wireless Setup With A Usb Cable On A Windows Computer Youtube
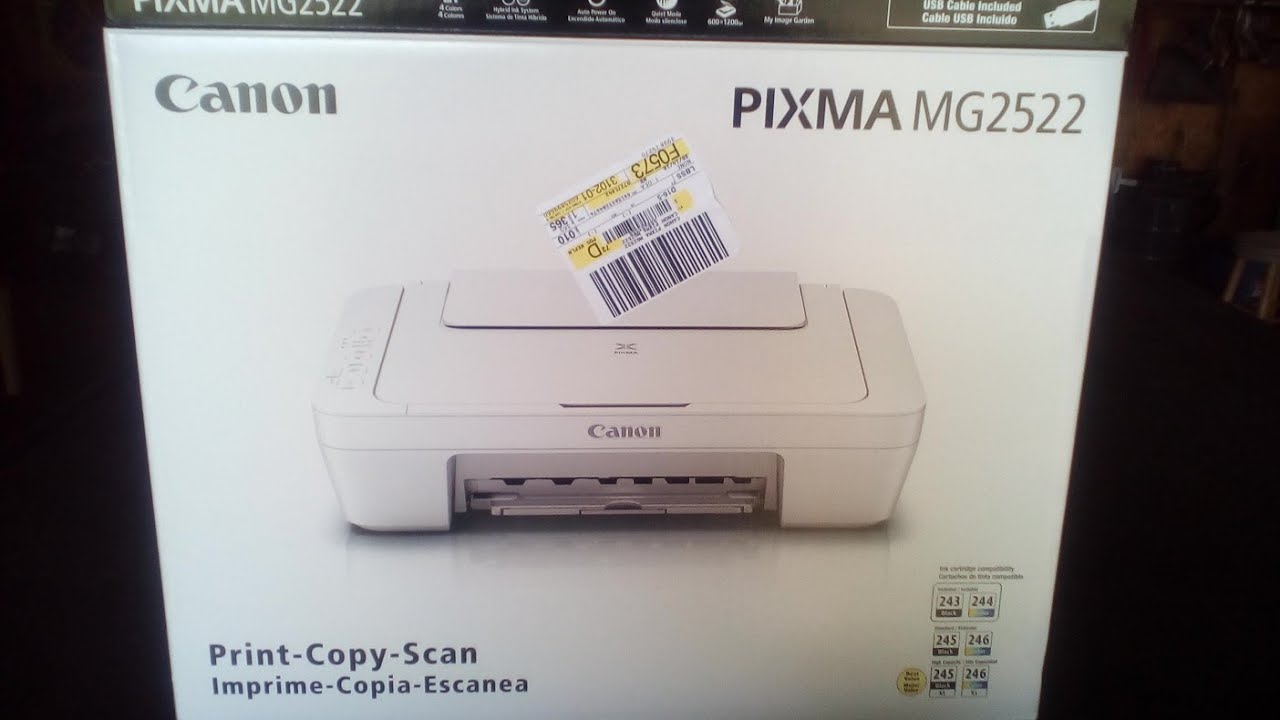
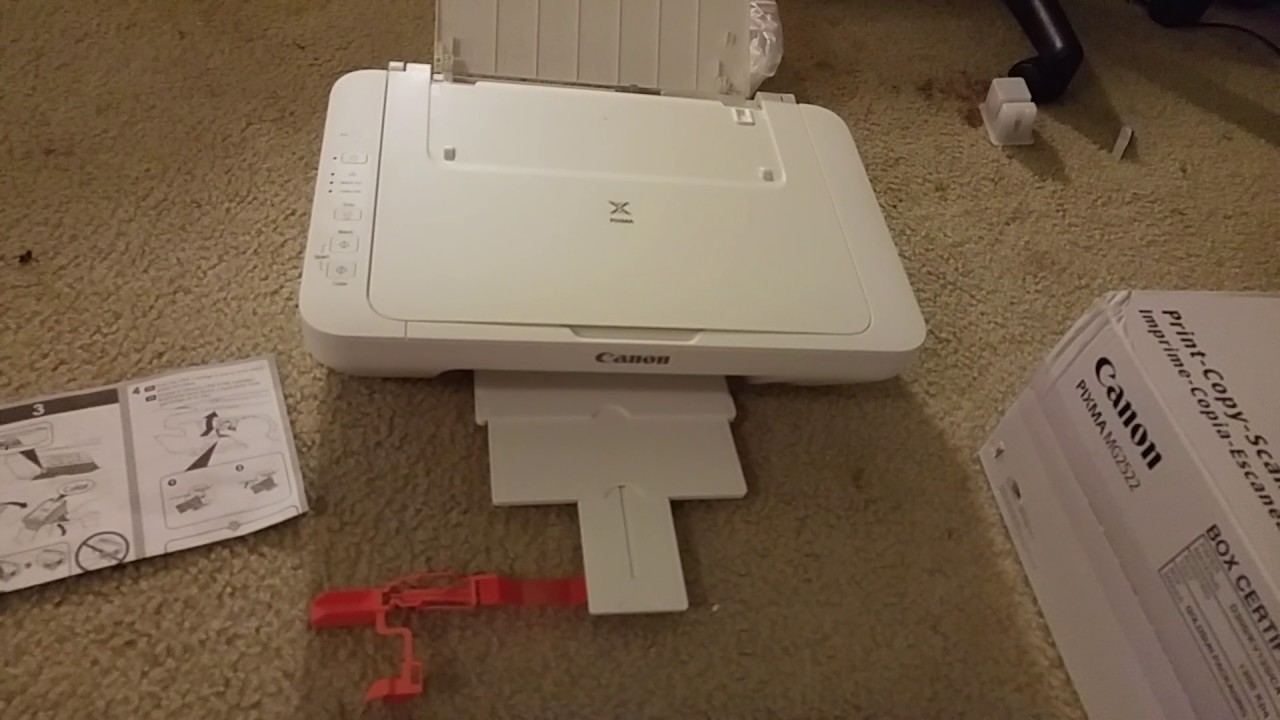
Canon Pixma Mg2522 Printer Unboxing Review Test Youtube

4 7 out of 5 stars 17.
Canon pixma mg2522 usb cable setup. More buying choices 5 99 3 new offers amazonbasics usb 2 0 printer cable a male to b male cord 6 feet 1 8 meters black. 4 8 out of 5 stars 11 133. A connector b connector. If you have bought a canon pixma mg2522 printer recently then you need to know the canon pixma mg2522 setup properly.
Hi speed usb software included. If you don t know how to set up your canon mg2522 printer then don t worry. Get it as soon as fri. Focaltop usb cable for canon pixma printer mg2522 mg2525 mg3022.
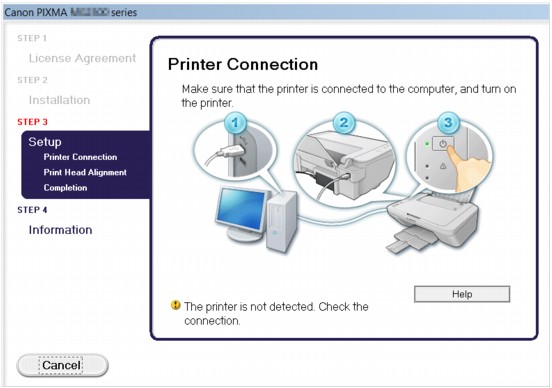
Remove any installed canon software from the computer that has been installed during the setup process. If you have a chromebook you will need to set up your printer on a network not all canon printers support network functionality. When connection is complete the printer driver will be automatically detected. Windows 8 mac 9 pixma mg2522 printer driver setup software scan utility my image garden 1 full hd movie print 10.
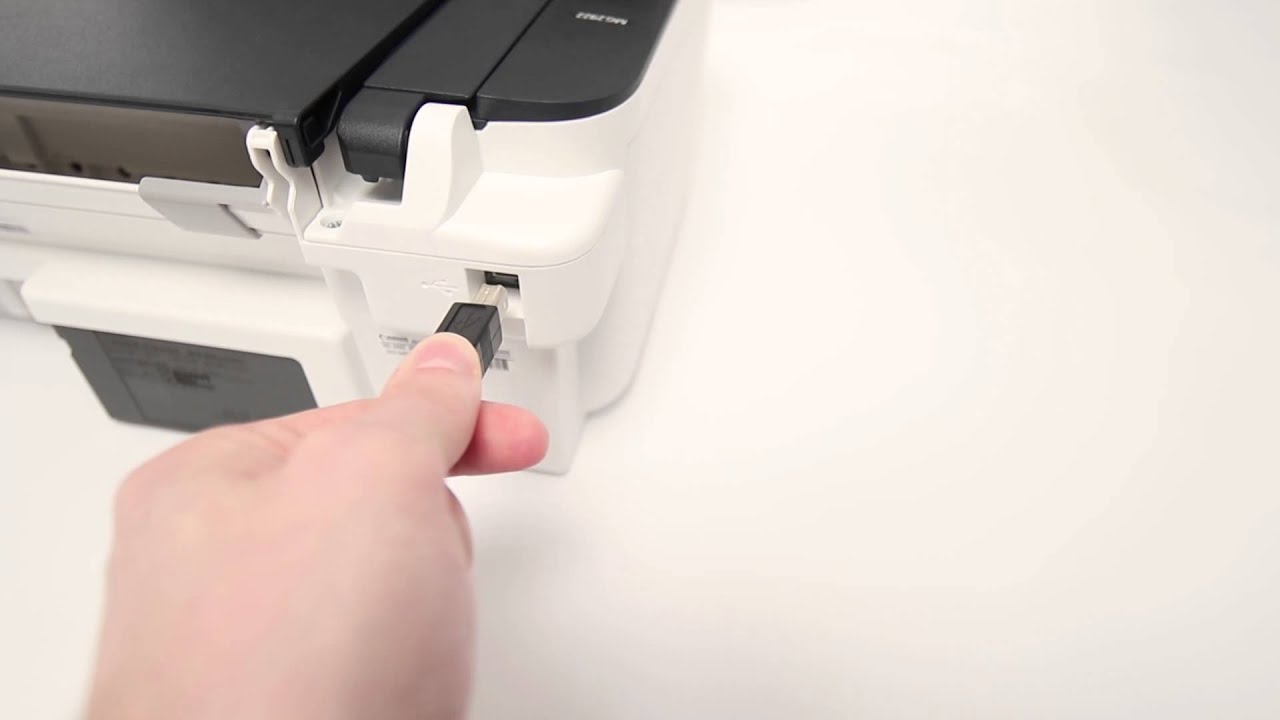
More buying choices 5 99 4 new offers 6ft epicdealz usb cable for canon pixma mg2520 inkjet all in one printer black. Download if you are using internet explorer 9 or later the following message appears when you click download. When it comes to versatility among the printers canon is a prominent name. Connect computer or tablet to printer with usb cable.
Makes no guarantees of any kind with regard to any programs files drivers or any other materials contained on or downloaded from this or any other canon software site. 4 9 out of 5 stars 15. Once printer driver is detected canon inkjet print utility software for making detailed print settings is downloaded automatically. Use this complete guide for the setup process.
Disconnect the usb cable and remove the setup disc. You ll also need a usb cable. Restart the printer and computer. Please note that these instructions are for windows pcs and macs.
The kind of cable you need is known as an a to b sometimes shown as a b cable. Click here to access the canon. 4 6 out of 5 stars 204. Follow the on screen instructions to complete the setup.

How To Download Driver Manual For Canon Pixma Mg2522 Printer Printer Usb Cable Usb

1 800 462 1427 Setup Canon Pixma Mg2522 Printer

Install Canon Pixma Mg2522 Printer Without Cd 1 844 824 0864

Canon Pixma All In One Color Printer Scanner Copier 0727c042 W Canon Color Ink Bundle Includes Genuine Canon Color Ink Cartridge High Speed 6ft Usb Printer Cable Amazon Ca Electronics
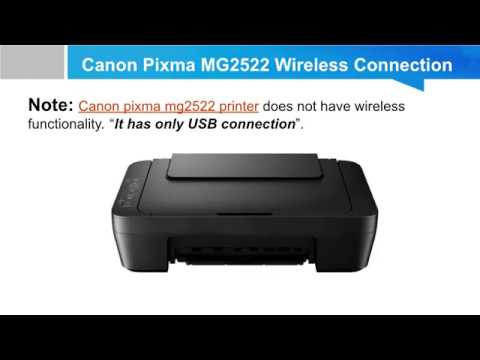
How To Connect Canon Mg2522 Printer To Wifi Canon Mg2522 Wifi Setup Youtube

Solved How To Fix Canon Mg 2522 Printer Offline Error

6ft Usb Cable For Canon Pixma Mg2520 Inkjet All In One Printer Walmart Com Walmart Com

Support Ts Series Pixma Ts3322 Canon Usa

Pixma Mg2420 Mg2520 Setting Up The Printer Youtube
Canon Pixma Mg2522 Driver Wireless Setup Printer Manual Printer Drivers Printer Drivers

Update Canon Pixma Mg2522 Printer Drivers Setup

Canon Com Ijsetup Pixma Mg2522 Setup Process Setup Best Computer Wireless Printer

Canon Pixma Mg2522 All In One Inkjet Printer For Sale Online Ebay
Canon Pixma Mg2522 Youtube

Kentek 3 Feet Ft Usb Cable Cord For Canon Pixma Printer Mg2522 Mg2525 Mg3022 Mg6820 Ts6020 Ts8020 Black Walmart Com Walmart Com

Canon Mg2522 Windows And Linux Driver Canon Driver Support

Canon Pixma Mg2520 Wireless Setup Driver Software Download Review Manual Free All Canon Drivers Printer Inst Photo Printer Color Photo Printer Printer

Canon Pixma Mg2522 Driver Download Ij Start Canon
Https Encrypted Tbn0 Gstatic Com Images Q Tbn 3aand9gctez C9gmrh0axzwtngpracohmhpr81nwrj0mnubs5mz Afju L Usqp Cau

Download And Install Driver Canon Mg2522 Youtube

Canon Pixma Mg2522 All In One Color Printer Scanner Copier 0727c042 With Pc Treasures Corel Paintshop Pro X9 1 Year Extended Warranty Walmart Com Walmart Com

Usb Dat Cable Lead For Printer Canon Pixma Mg3250 For Sale Online Ebay
Canon Pixma Mg2522 Setup Canon Pixma Mg2522 Driver Download

Amazon Com Focaltop Usb Cable For Canon Pixma Printer Mg2522 Mg2525 Mg3022 Computers Accessories

Canon Pixma Mg2920 Wireless Setup With A Usb Cable On A Windows Computer Youtube
Canon Pixma Manuals Mg2500 Series Cannot Install The Mp Drivers

Need The Wps Pin For My New Printer Cannon Pixma Mg 2522 Targetfasr

Amazon Com Power Cable Cord For Canon Pixma Printer Mg2522 Mg2525 Mg3022 Home Audio Theater

Easy Steps To Connect Canon Pixma Mg2522 Printer To Wifi In 2020 Printer Connection Wifi Network

Canon Pixma Mg2522 Printer Review After 2 Months Youtube
Canon Pixma Mg3520 Cableless Setup With An Android Device Youtube

Chromebook Connecting To A Classic Printer And Printing From It Youtube
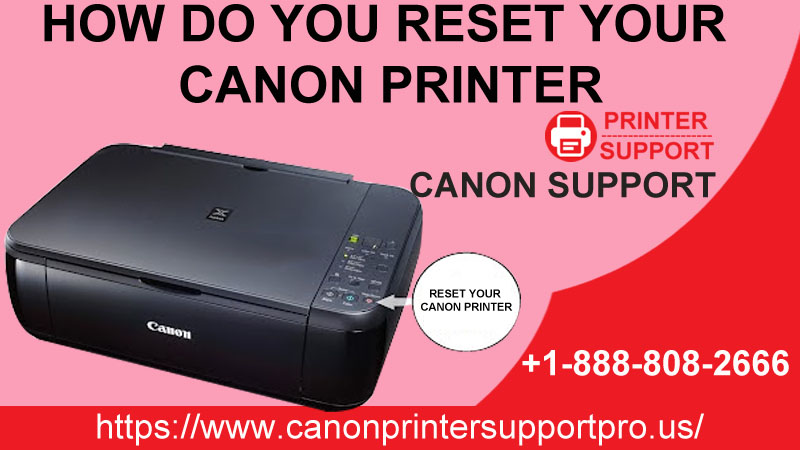
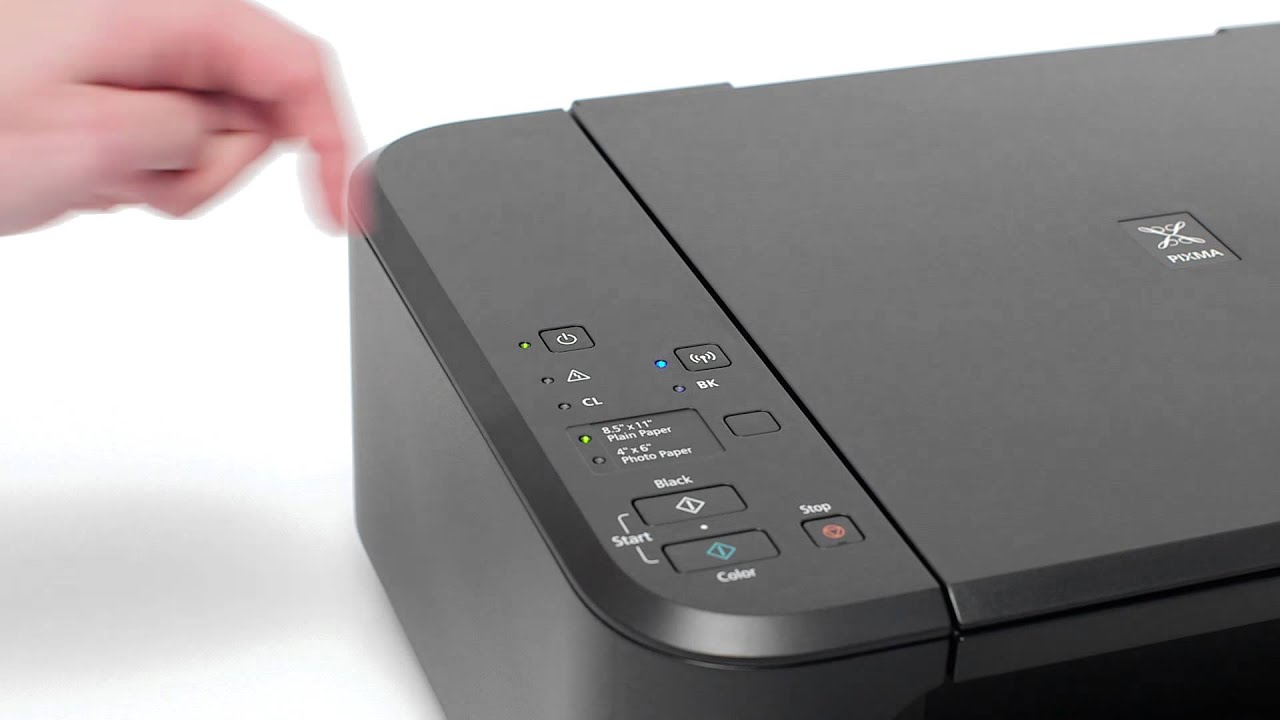
How Do You Reset Your Canon Printer

Amazon Com Nicetq Replacement Us 2prong Ac Power Cord Cable For Canon Pixma Mg2522 Mg2922 Mg3022 Wireless All In One Inkjet Printer Home Audio Theater

Canon Pixma Mg2522 Driver Downloads
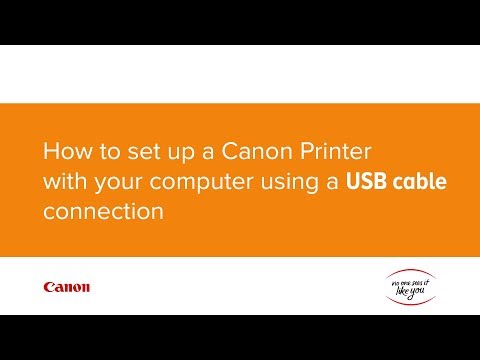
How To Set Up Your Canon Printer With Your Computer Using A Usb Cable Connection Youtube

Install Canon Pixma Mg2522 Printer Without Cd

Canon Support Drivers Canon Pixma Mg2522 Driver Download Mac Windows Linux

Canon Pixma Mg2522 Setup A Comprehensive Guide

1 855 788 2810 How To Install Canon Printer Without Cd

Pin On Canon Ij Setup

Canon Pixma Mg2522 Printer Review Print Test 2020 Not A Unboxing Video Youtube

